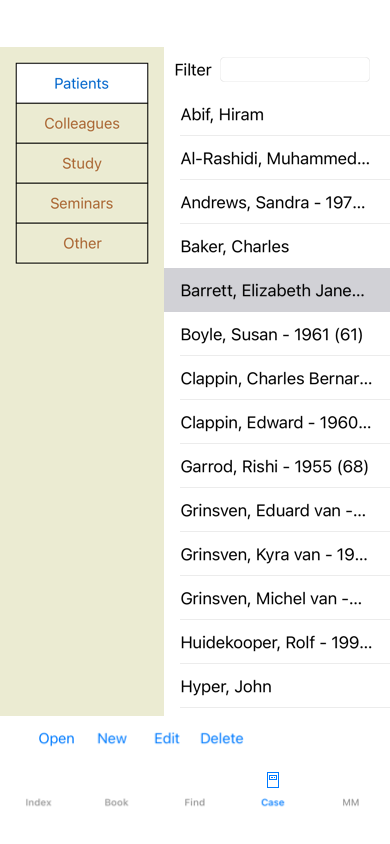
Go to the Case module by clicking on the Case tab.
The Case module enables you to create and organize your patients' case files, register prescriptions that you have made, and create and organize analyses.
Working with the Case module is like working with real case files.
Cases are organized into groups, like you would organize your case files in different file cabinets or drawers in real life. You first select the group or groups you want to work in.
Cases in the selected groups are shown in a list, with only a summary of the patient information: Name and year of birth. The cases can be filtered by entering one or more parts of the patient name in the Filter field below the list.
Once a case has been selected in the list, the case file is shown on the right side of the screen.
The next step would be to open the case file, but we will first go into a few details about this part of case management.
You can see the selector of groups as a kind of drawer cabinet.
In this picture, the Patients drawer has been opened. The standard groups are:
Patients All case files that are marked as Patient in the case description (more info below) and of which you are the author. Colleagues All case files that are marked as Patient in the case description and of which someone else is the author. Study All case files that are marked as Study. These are cases that are not directly related to any of your patients, but for your personal study only. Seminars All case files that are marked as Seminar. You create cases in this group for any cases that occur in seminars and trainings. Other All cases that do not fall into any other group.
You can open one or more drawers at the same time. Just click on a drawer to open it or to close it. Double clicking on one of the drawers will open it and close all others at the same time.
Two drawers are opened. The list with cases will show all cases that are marked as 'Study' or as 'Seminars'.
Of course these groups do not match your personal wishes. Creating new drawers with your own groups is easy. When editing the case information, you can specify which groups the case should be in. You can use the three standard groups 'Patient', Study' and 'Seminar', but you can also type your own group names. New drawers will be added to the list automatically:
The drawers Family, Teaching and Workgroup are added to the list automatically because in some of the cases these group names were used in the case information.
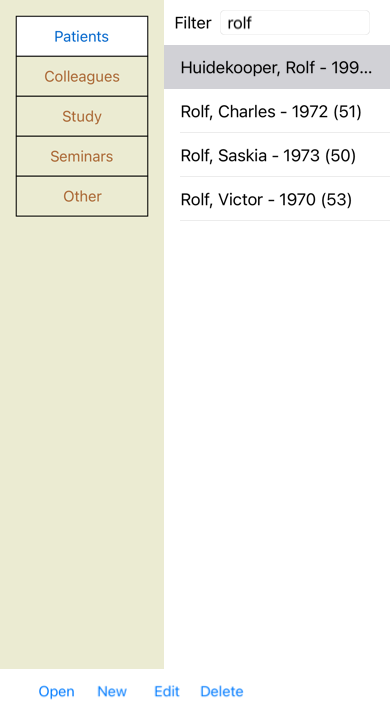
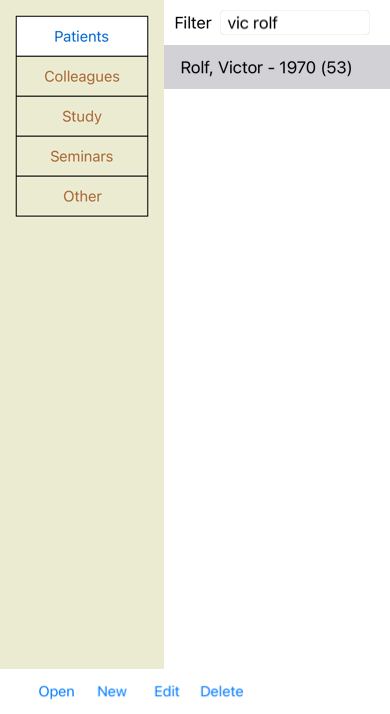
All cases that match the selected group or groups are shown in the list. If you fill in some text in the Filter field, the list is restricted to those cases that match the filter text.
An example of using the filter:


The filter has some very powerful options to select the right case. It uses the same filtering criteria as the Find field uses for text and remedies.
In the Case module, text is the name as shown in the list, and remedies are any remedies that have been prescribed to the patient (or have NOT been prescribed).
Please refer to section 'Find' field for details.
Example: To look for a patient named John or Joseph, who has been prescribed nux-v, but never sulph, just type:
john / joseph nux-v. -sulph.
(Note the dot behind the remedy names!).
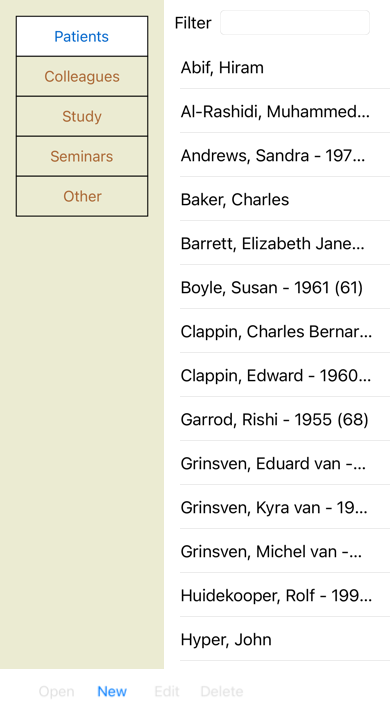
You can create a new case file by clicking the New button.
This will bring up a dialog where you can enter patient information, as well as case background information.
In the Patient section, you can fill in all personal information you want to store about the patient. Press the Photo button to take a picture. The photo is automatically resized. Remove an existing photo with the Clear button.
If the patient's birth year, month or day are not known, simply fill in 0.
In case the exact birth day is not known, but the patient only provides the current age, you can enter the age in the field Birth year.
In the Case section, you can enter some background information about the case, that is not related to the patient itself.
In the Case groups group, you can select one of the standard groups, and/or fill in your own group names separated by spaces or semicolons.
The Case background group is useful if this case originates from a seminar, magazine etc, and you want to remember where the case comes from.
You can open an existing case file by selecting it in the list, and then clicking the Open button.
You can also double click on the entry in the list.
When you create a new case, it is then automatically opened.
After opening a case file, it shows contents that you would normally expect inside a real life case file too:
- a piece of paper with patient information,
- a form with prescriptions,
- a form with an overview of all analyses in the case file,
Example:
To close an open case, click on the small arrow ![]() in the upper left corner. (Popup menu option Close case).
in the upper left corner. (Popup menu option Close case).
To add a new prescription, double click on the empty line at the top of the prescriptions. (Popup menu option Add prescription).
A new dialog will appear, where you can enter some information about the prescription:
The checkbox For future use can be used to indicate that you have not prescribed the remedy for immediate use, but have already given it to the patient for possible use in the future.
If the month or day are not known, simply fill in 0.
Delete a prescription by selecting it in the list, then Delete prescription. (Popup menu option Delete prescription).
Edit a prescription by double clicking on the entry in the list. (Popup menu option Edit prescription).
You can add a new analysis with a menu option, or double click on the empty line at the top of the analysis index. (Popup menu option Add analysis).
A new dialog will appear, where you can enter some information about the analysis:
If the month or day are not known, simply fill in 0.
Delete an analysis by selecting it in the list, then Delete analysis. (Popup menu option Delete analysis).
Edit an analysis by double clicking on the entry in the list. (Popup menu option Edit analysis).
If you want to copy an analysis, as the basis for a new analysis, use Duplicate analysis. (Popup menu option Duplicate analysis).
To move an analysis to another case, use menu option Move analysis to case. (Popup menu option Move analysis to case...).
If you click on one of the analyses in the list, this analysis becomes the one that is used by the Analysis module (see section Analysis).
You can print your case, or parts of it. (Popup menu option Print).
Printing a case is only possible after you have opened it.
A dialog allows you to select what you want to print:
| Case cover | If you check this option, the first page of the print will contain patient information, as well as an overview of prescriptions. |
| Current analysis | Select this option if you only want to print the currently selected analysis, with the settings as they are used in the Analysis module. |
| No analyses | Select this option if you do not want to print any of the analyses (just the case cover). |
| Analysis details | If you check this option, the information you entered for each analysis will be printed (diagnosis, notes). |
| Rubrics and remedies | If you check this option, every analysis print will contain an overview of all remedies in rubrics that are used in the analysis. Please note that due to copyright restrictions, at most 20 rubrics will be printed with all their remedies. If you print more than 20 rubrics, the rubrics with the most remedies will not list their remedies. |
| Color | Print in color. If not checked, printing is optimized for black and white printers. |
| Write to HTML file | Select this option to write to a HTML file. This is a convenient format if you want to copy parts of the output into other documents. |
If you have not opened a case, you can print an overview of multiple cases. (Popup menu option Print).
This can, for instance, be practical if you want to create a list for a colleague that monitors your patients. You could then make a list with just the names and birthdates of the patients you have seen in the last 6 months, with a list of remedy prescriptions.
The options in the printing dialog require no further explanation.